Most beginner photographers tend to buy camera bags, memory cards and UV protective filters first after getting a new camera. They may have heard of ND filters, yet have no idea what they are or how to use them.
Today we are going to talk about the working principle, usage and shooting effects of ND filters.
I will explain everything in the simplest way to help newbies get started easily, and also tell you how to pick high-quality ND filters worth buying.
1. What is an ND Filter?
ND stands for Neutral Density. It is a neutral grey optical filter. Its core feature is to evenly reduce incoming light without changing colors, color temperature, white balance or causing color cast. It only dims light purely, which explains the word "neutral".
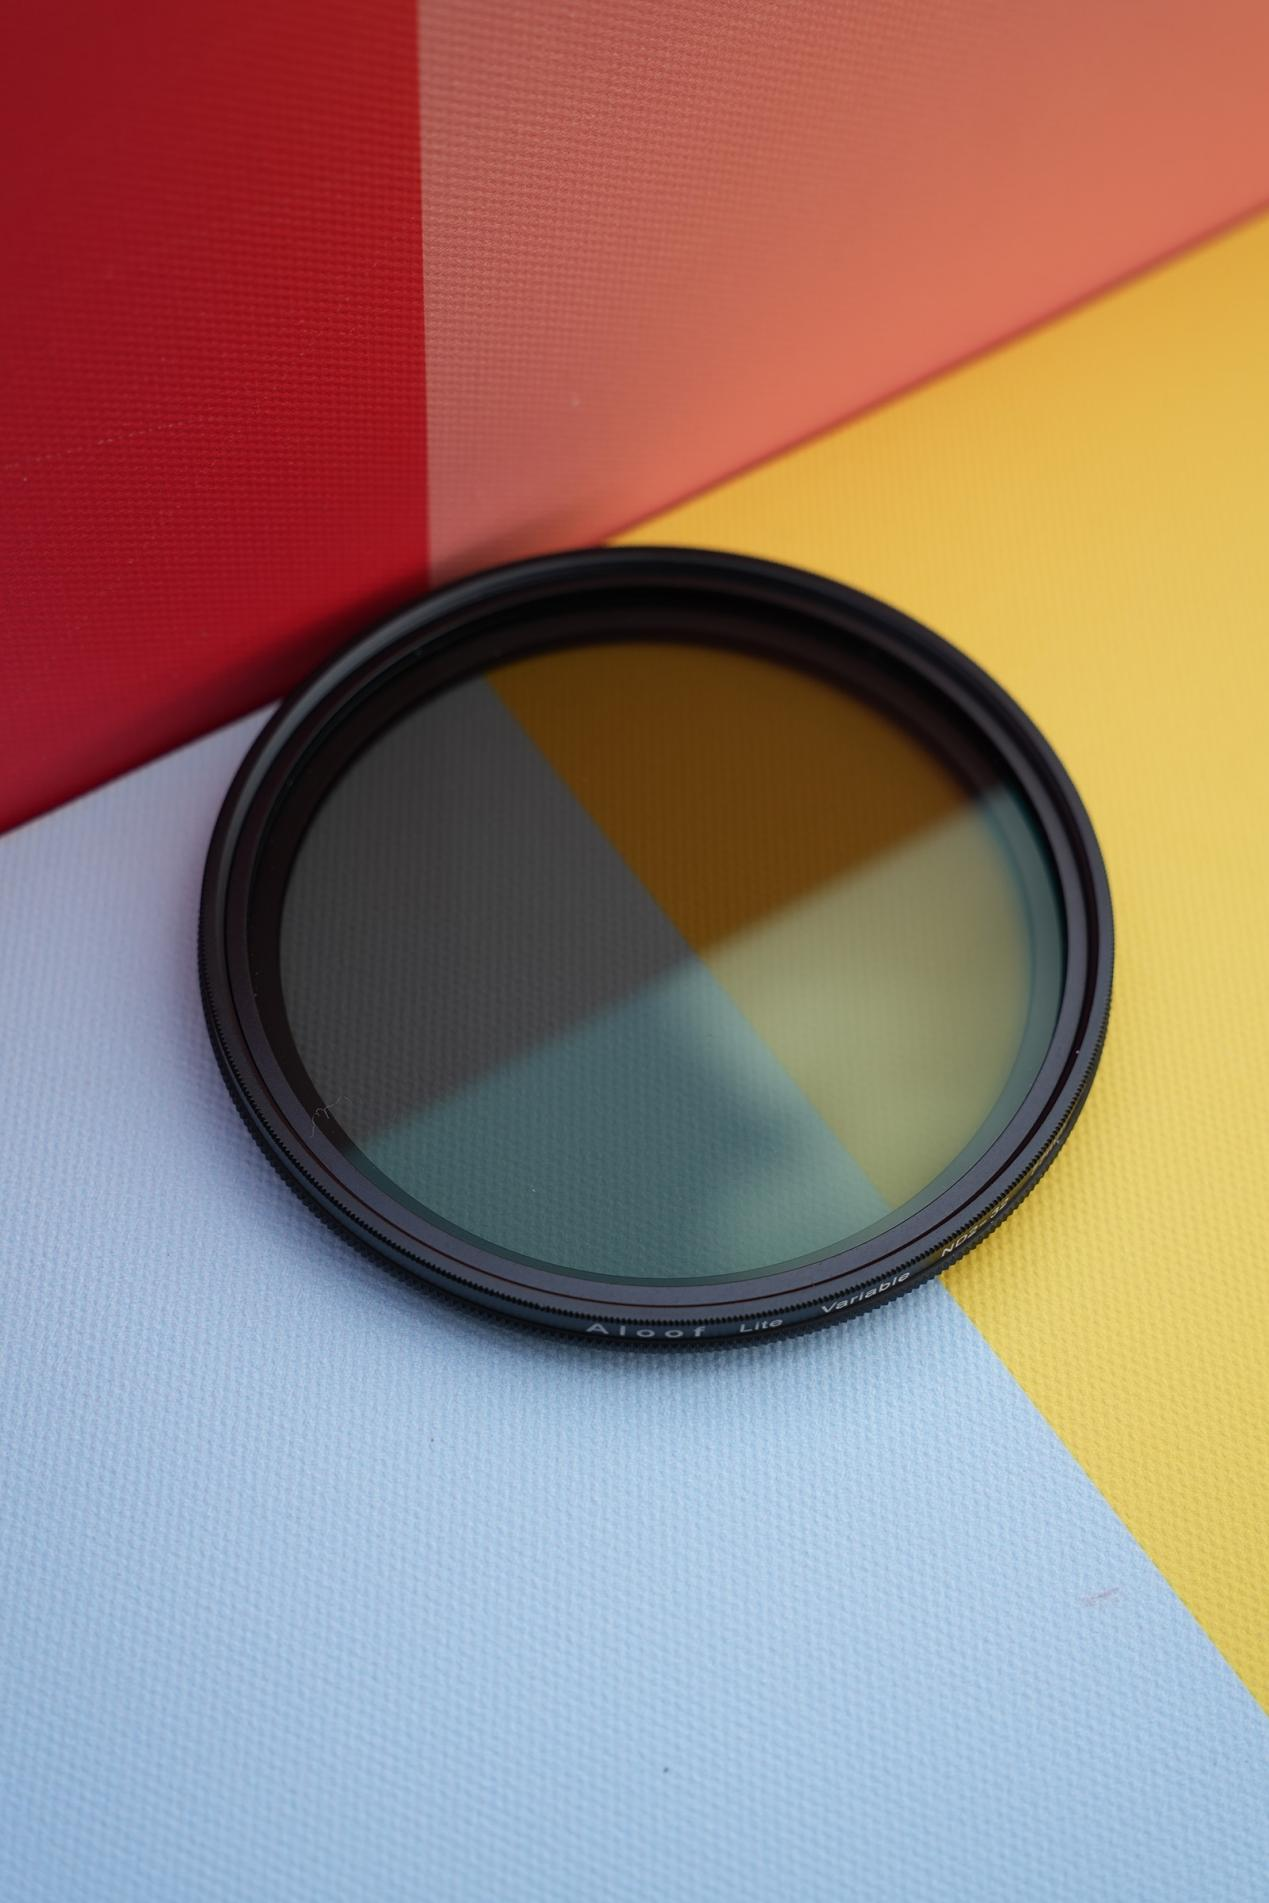
To put it simply, an ND filter is just like professional sunglasses for your camera lens. It cuts down harsh strong light while keeping the original color and texture of your footage unchanged.
2. Core Functions of ND Filters
1. Slow down shutter speed for smooth motion effects
This is the most essential function. In bright daylight, cameras shoot with fast shutter speeds, freezing moving water, clouds and traffic completely. By mounting an ND filter to reduce light intake, you can use slow shutter speeds and achieve long exposure shots even in daytime.
l Streams & sea waves: create silky smooth flowing water effects
l Moving clouds: capture stunning cloud drift trails
l City street shots & night scenes: shoot beautiful light trails of vehicles
2. Use wide aperture under strong sunlight for extreme bokeh
Wide aperture is widely used in portrait and still life photography to blur backgrounds and highlight subjects. However, under harsh midday sunlight, even at the lowest ISO, the shutter speed will exceed the normal range and cause overexposure.
With an ND filter cutting excess light, you can freely use wide aperture in bright sunshine to shoot soft shallow depth-of-field photos and greatly upgrade portrait photography atmosphere.
3. Must-have for videography to ensure smooth and steady footage
ND filters are essential for short video creators and outdoor vloggers. Shooting videos outdoors in strong light often leads to screen flicker, unstable exposure and failure to use cinematic frame rate settings.
An ND filter stabilizes light intake, locks proper shutter speed and frame rate, helping you capture smooth, evenly exposed and professional cinematic videos.
4. Balance light and simplify post color grading
Thanks to its neutral color performance, it unifies light conditions of shots taken at different times of the day and ensures balanced in-camera exposure. It largely saves time on photo retouching and color correction, and improves shooting efficiency for beginners.


3. ND Filter Density Levels & Selection
ND filters are classified by density values. The higher the number, the stronger the light reduction and the less light passes through.
- ND2: 1-stop light reduction, mild dimming for low-light environments
- ND4: 2-stop light reduction, basic daily universal filter
- ND8: 3-stop light reduction, ideal for sunny outdoor shooting and portrait photography
- ND16 / ND32: medium to strong light reduction, perfect for cloud movement and slow water flow shooting
- ND64 / ND1000: heavy light reduction, suitable for extreme daytime long exposure and sunrise & sunset scenes
- ND32000 / ND65000: ultra-long time-lapse photography under scorching midday sun, erase crowds and traffic from frames
- ND1000000: professional filter for solar eclipse, partial eclipse and sun close-up astrophotography
For beginners, ND8 and ND16 are the best choices. They work well for both photography and videography, fit most daily shooting scenarios and offer great cost performance.

4. Common Mistakes Beginners Make
Mistake 1: The darker the ND filter, the better
Higher density does not mean better performance. There is no need to blindly buy ultra-heavy ND filters for daily shooting. Excessively dark filters will damage image quality and greatly extend shooting time.
Mistake 2: Use ND filters in all shooting scenarios
Do not use ND filters on cloudy days or in dim indoor spaces. Improper use will result in dark footage and difficult autofocus.
Mistake 3: Ignore optical quality of filters
Cheap low-quality ND filters easily cause color cast, vignetting, blurry images and uneven light transmission. Always choose high-definition multi-coated optical filters to balance image quality and practicality.
Mistake 4: Confuse ND filters with polarizing filters
ND filters only reduce light intensity, while polarizing filters remove reflections and darken the sky. They serve different purposes. You can use them together, but they cannot replace each other.
5. Professional ND Filter Buying Guide
Professional photographers judge good ND filters based on these key points:
1. Zero color cast
Professionals refer to spectral transmittance data to evaluate optical performance. The flatter the spectral curve, the more consistent light transmission across all wavelengths, delivering better neutral effect and minimal color deviation.

2. High definition performance
Low-definition filters make images hazy and blurry and ruin original lens sharpness. The quality loss is especially obvious when using telephoto lenses.

3. Accurate density level
Inaccurate density values make all preset parameters including shutter speed, aperture and ISO invalid. You cannot control long exposure precisely, resulting in weak motion trails, overexposed or underexposed photos.
4. Double-sided multi-layer nano coating
Filters without coating or with single-sided coating cause severe internal and external reflection and heavy ghosting. Double-sided multi-layer nano coating features high hardness, scratch resistance, fingerprint resistance and oil repellency. It is easy to clean and durable for outdoor shooting in rainy, snowy and humid seaside environments.
Now you have got a full understanding of ND filters. It is time to pick up your ND filter and start shooting creative works!
Feel free to leave a comment if you have any questions.
Share:
The Top Filter Choice for Beginners – An Introduction to CPL Filters
Insta360 Luna Ultra Is Here — Have You Bought Yours Yet?